
Scene-by-scene editor

Faceless video maker. Fix any scene, keep the rest.

Generating a video is only the first draft. The making happens in the editor: every scene's image, line, transition, sticker and sound effect is yours to change, and your channel's style, captions and voice stay the same from one upload to the next.

  • Scene-by-scene editor
  • One look per channel
  • Review before posting

Walkthrough

From first draft to a video you would post

A walkthrough from the Blipix YouTube channel. Keep an eye on the part after generation, when the scenes open for review: that is where this page picks up.

Three stages

How a video moves through the maker

Three stages, and the middle one is where your channel is decided. Creators who post the first cut untouched tend to get the same generic result as everyone else.

  1. 1

    Get a first cut

    Start from a topic, a preset niche or your own script. The faceless video generator writes, draws, narrates and captions it, then hands you every scene to work on.

  2. 2Where your channel is decided

    Fix it scene by scene

    Play the video once without stopping, note the weak moments, then open only those scenes. Swap an image, tighten a line, set a transition, drop in a sticker or a sound effect.

  3. 3

    Render and post

    On a paid plan, render the final MP4, then download it or publish to YouTube, TikTok or Instagram. Fill in the title, description and hashtags before you do.

app.blipix.pro / create
Blipix video creation screen

Per scene

Six things you can change in any scene

Each scene is one beat of narration with one picture. Changing a scene never touches the others, so a single bad image costs you one fix, not a full re-render.

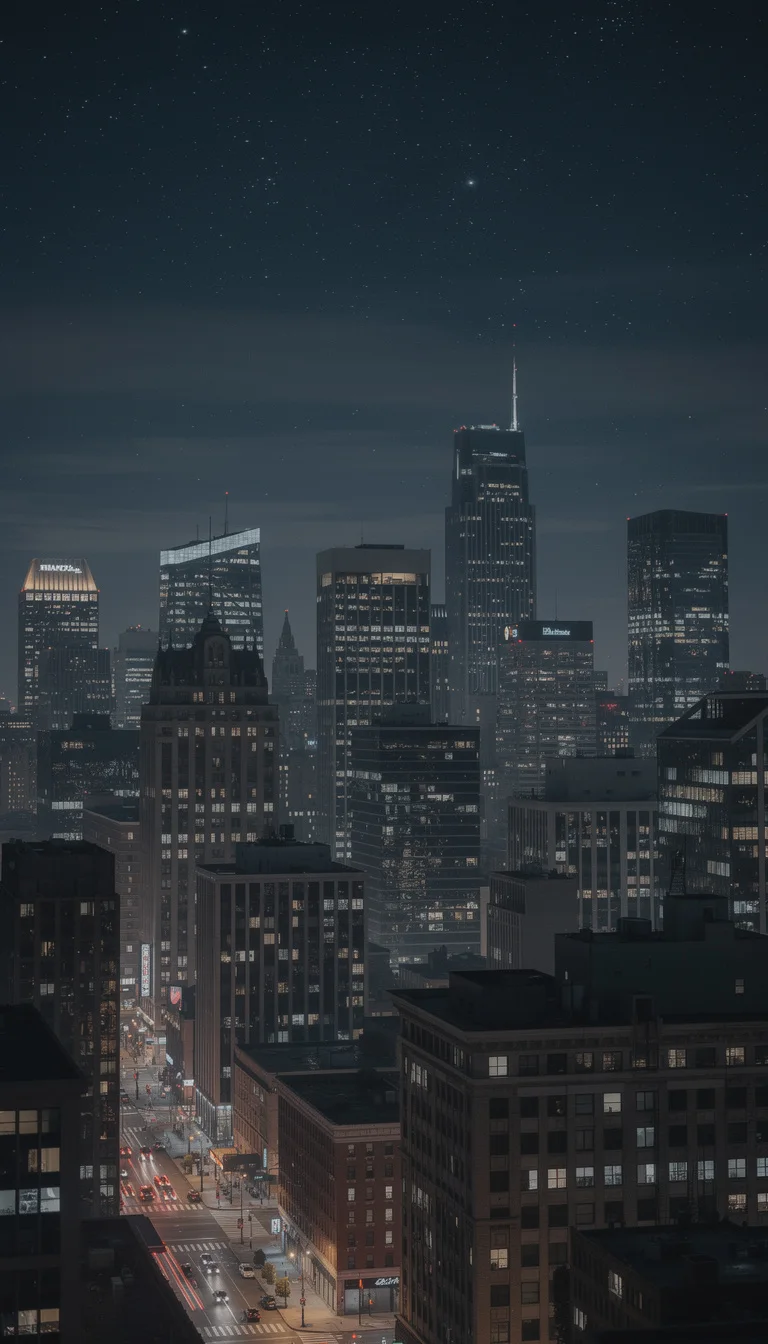
Regenerate the image

Redraw one scene from 1 to 20 credits depending on the model, plus 5 for HD. Or upload your own photo or clip for that beat.

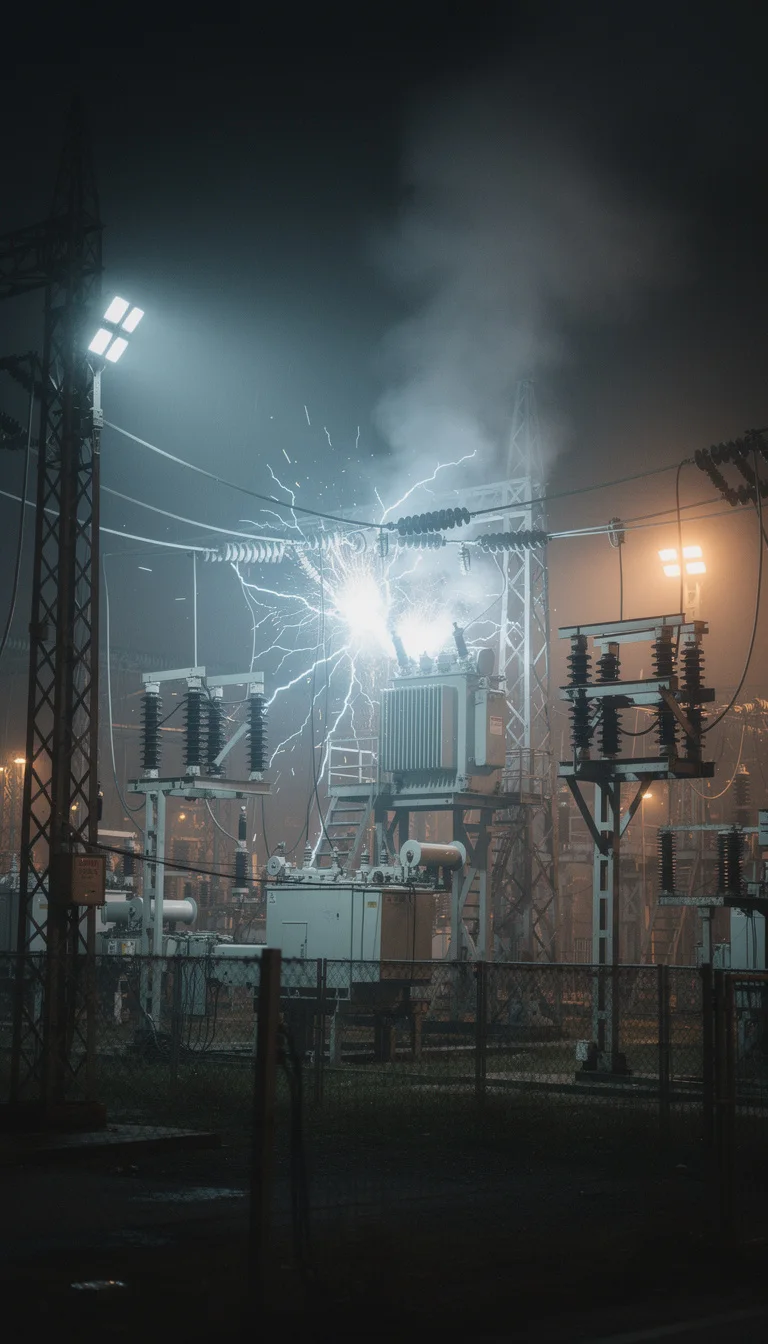
The lights went out.Then the whole city went dark.

Edit the narration

Rewrite the line and apply it; the voiceover is regenerated for 5 credits so captions stay timed. Paid plans only.

Set a transition

Choose how each scene hands over to the next instead of living with one cut style for the whole video.

⚡

Add a sticker

Search GIFs and stickers or upload your own, then size it on the frame. One per scene is usually plenty.

Place a sound effect

Pick from the sound library or upload a file. Sound effects are never added automatically, so each one is a choice.

+

Add, cut or animate scenes

Insert a scene, delete one that drags, or turn a still into a 6 or 10 second AI clip (10 or 15 credits, paid plans).

Consistency

One channel look, one review pass

Keep the channel recognizable

  • Pick one of the 39 art styles and keep it. A style with a strong signature, like Comic Book, is recognizable at a glance in a feed.
  • Use one caption preset (Hormozi, Viral, Neon, Typewriter, Comic and 19 more), or save your own font, color and highlight color and reuse them
  • Keep the same narrator voice. Viewers notice a voice change before they notice a style change. Voice cloning exists if you want your own voice without recording every video
  • Add your handle or logo as a watermark in the same corner every time, and use the same thumbnail intro look
  • On paid plans, Consistent Character keeps a recurring face or mascot steady across scenes from one reference image

Review before you post

  1. Watch it once at full speed with sound on, the way a viewer would, before you fix anything
  2. Pause on every face and hand: AI images still get fingers, teeth and written signs wrong now and then
  3. Read the captions for names, numbers and dates, since a wrong year on screen undermines the whole video
  4. Write the title, description and hashtags in the editor's details panel, and run the title through the title length checker so it is not cut off
  5. Check that the first scene works as a cover, or turn on the thumbnail intro

Whole video

Settings that apply to the whole video

Scene edits fix mistakes. These shape the finish. Use one or two per video; stacking all of them makes a faceless video look busy.

HORMOZINeonTypewriter

Captions

Swap the preset, change font, size, weight and colors, pick a highlight color for the spoken word, move them to the top, center or bottom, or hide them for a music-led edit.

Music and visualizer

Change the track or upload your own, and add an audio visualizer if the video is more about sound than pictures, like a lo-fi story or a calm explainer.

Particle effects

Layer random, bubbles, sparkle, snow, dust, hearts or embers over every scene. Embers suit war history, snow suits winter tales, and most videos need none.

THE CITY
WENT DARK

Thumbnail intro and details

Open on a one-second title card in one of 11 looks, and fill in the title, description and hashtags that go out with the post.

app.blipix.pro / publish
Blipix publishing options for a finished video

Honest comparison

The same fix, two ways

Where a scene-based maker saves time compared with a timeline editor. The trade-off: no keyframes, masks or color grading, so detailed motion work still belongs in a tool like Premiere or CapCut.

In the Blipix editorScene by sceneIn a timeline editorClip by clip, frame by frame
Changing one pictureRegenerate or replace that scene; voice and captions stay putFind a new asset, then re-cut it against the audio
Changing a lineEdit the text and apply; the voice is regenerated and re-timedRe-record the line, then re-sync every caption after it
CaptionsTimed to the voice automatically, styled from 24 presetsTranscribe, split and style them by hand
PublishingPost to YouTube, TikTok or Instagram from the editor (paid)Export, then upload to each platform one by one

Your own media

Bring your own pieces in

The AI draft is a starting point, not a cage. Any scene can take a photo or short clip you upload, and any sticker or sound effect can come from your own files, so a recurring logo sting or a signature sound stays the same on every upload.

Your media per scene

Replace the AI image with your own picture or clip where a real photo says it better, like a product or a map.

Your sounds and stickers

Uploads are saved to your account, so the same sound or GIF is one click away in the next video.

Publishing

Post from the screen you edited on

Once the review is done, a paid plan lets you render and publish without leaving the editor. TikTok, Shorts and Reels all take the same vertical export; our notes on making TikTok videos cover what to change for each platform.

Connected accounts

YouTube, TikTok and Instagram. Instagram must be a Business or Creator account before you connect it.

Series for what comes next

A paid series generates and posts new videos once a day, twice a day or 3 times a week in the look you set.

Reviews on Trustpilot

What creators are saying

In their own words, from Blipix's public Trustpilot page.

Mar 25, 2026

Blipix gives you EXACTLY what you want!

“As someone who spent the past 4 years working with +40 different AI-tools, I can tell you that Blipix is truly one of the very BEST ever made. Wanna know why? Simple. It-doesn't-mess-up! Stunning pictures, a great arsenal of interesting voices, and wonderful short videos. Use it. Love it. Buy it. I promise ya!”

Ken V.Belgium
Mar 8, 2026

A great way to create AI video shorts

“A great way to create AI video shorts and even longer videos up to 10 mins. Everything can be monetized and automized, from individual videos to complete series to upload with a few clicks. Voiceovers, background music, captions... everything is adjustable, AI script writing included! And the prices very good for this market.”

PatrickNetherlands
Aug 30, 2025

If you want an affordable AI creation tool, this is it!

“The product is exceptional for a seasoned content creator like me. It solves my solution in finding an affordable AI video creation tool that gives me more than just a video. The transitions and the "call to action" at the end of each custom prompt is what I call engaging and effective! Brian's nice too!”

Annette ThomasUnited States
Sep 24, 2025

Very very good service

“Very very good service. The videos come out clean and ready to post, and generating one only takes a few minutes from idea to finished result. Everything works exactly as promised, and whenever I had a question the team got back to me fast. Highly recommended for anyone making content regularly.”

Kyawkhant ZinThailand
Aug 30, 2025

Just checked out blipix.pro

“Just checked out blipix.pro and honestly, it's pretty cool. You should try it too! It took me only a few minutes to turn an idea into a finished video with voiceover and captions. Super easy even if you've never edited anything before, and the results look way more professional than I expected.”

Vicious EricaPhilippines

Limits

What the maker won't do for you

It won’t film anything

Every picture is an AI image with gentle motion, your own upload, or, on paid plans, a stock photo or clip from Pexels. A scene can become a short AI clip, but the video as a whole is built from stills.

It won’t give you a cast

Each video has one narrator, and nobody on screen moves their lips. Changing the voice means a new voiceover for the whole video, not per character.

It won’t export on the free plan

You can generate one 30 to 60 second video and review it in the editor with a watermark, but rendering the MP4, applying text changes and posting are paid features. That makes the free video a test of the output, not a finished upload.

Editing questions8 answers

Making and editing faceless videos

How much of a generated video you can change, what it costs, and where the editor stops.

Still have a question?

Write to us and a real person on the team replies.

Yes. Open the scene and regenerate its image, which costs from 1 to 20 credits depending on the image model (5 more for HD), or upload a picture or clip of your own. The voiceover and captions for that scene stay exactly where they were.

You edit the text, then apply the change, which regenerates the voiceover for 5 credits so the captions stay in sync. Applying text changes is a paid-plan feature; on the free plan the narration stays as generated. See the pricing page for what each plan includes.

Stickers come from a built-in GIF and sticker search or from GIF and WebP files you upload. Sound effects come from a searchable sound library or your own audio files. Nothing is added for you: you choose the scene and drop each one in where it earns its place.

Lock four things and stop changing them: one art style, one caption preset, one narrator voice and one watermark. On paid plans, Consistent Character adds a fifth by keeping a recurring face or mascot steady from a reference image you upload.

Yes. The watermark settings take either text, such as your @handle, or an image like a logo, and place it in one of nine positions on the frame. This is your own mark; the Blipix watermark that free-plan previews carry goes away on paid plans.

A short title card at the very start of the video, about a second long by default, built from one of your scenes or your own image plus a line of text. It comes in 11 looks, such as White Box, Neon Glow, Glass and Banner, and helps when a platform uses the opening frame as the cover.

No. The editor works scene by scene, which is fast for swapping images, lines, transitions and sounds, but it has no keyframes, masks or color grading. If a video needs that level of control, render the MP4 and finish it in a timeline editor.

On paid plans, yes: render the video, then publish it to a connected YouTube, TikTok or Instagram account from the same screen. Instagram needs a Business or Creator account. Our guide to making Instagram Reels covers the Reels side in more detail.

Generate a draft, then make it yours

Start with one 30 to 60 second video on the free plan and go through it scene by scene. You will know within one video whether the editor fits how you work.

Try Blipix
  1. Script
  2. Voiceover
  3. Visuals
  4. Captions